- Aluminum Display Shelf For Trains and Other Collectibles- SET of 2
- Trains and Accessories NOT included
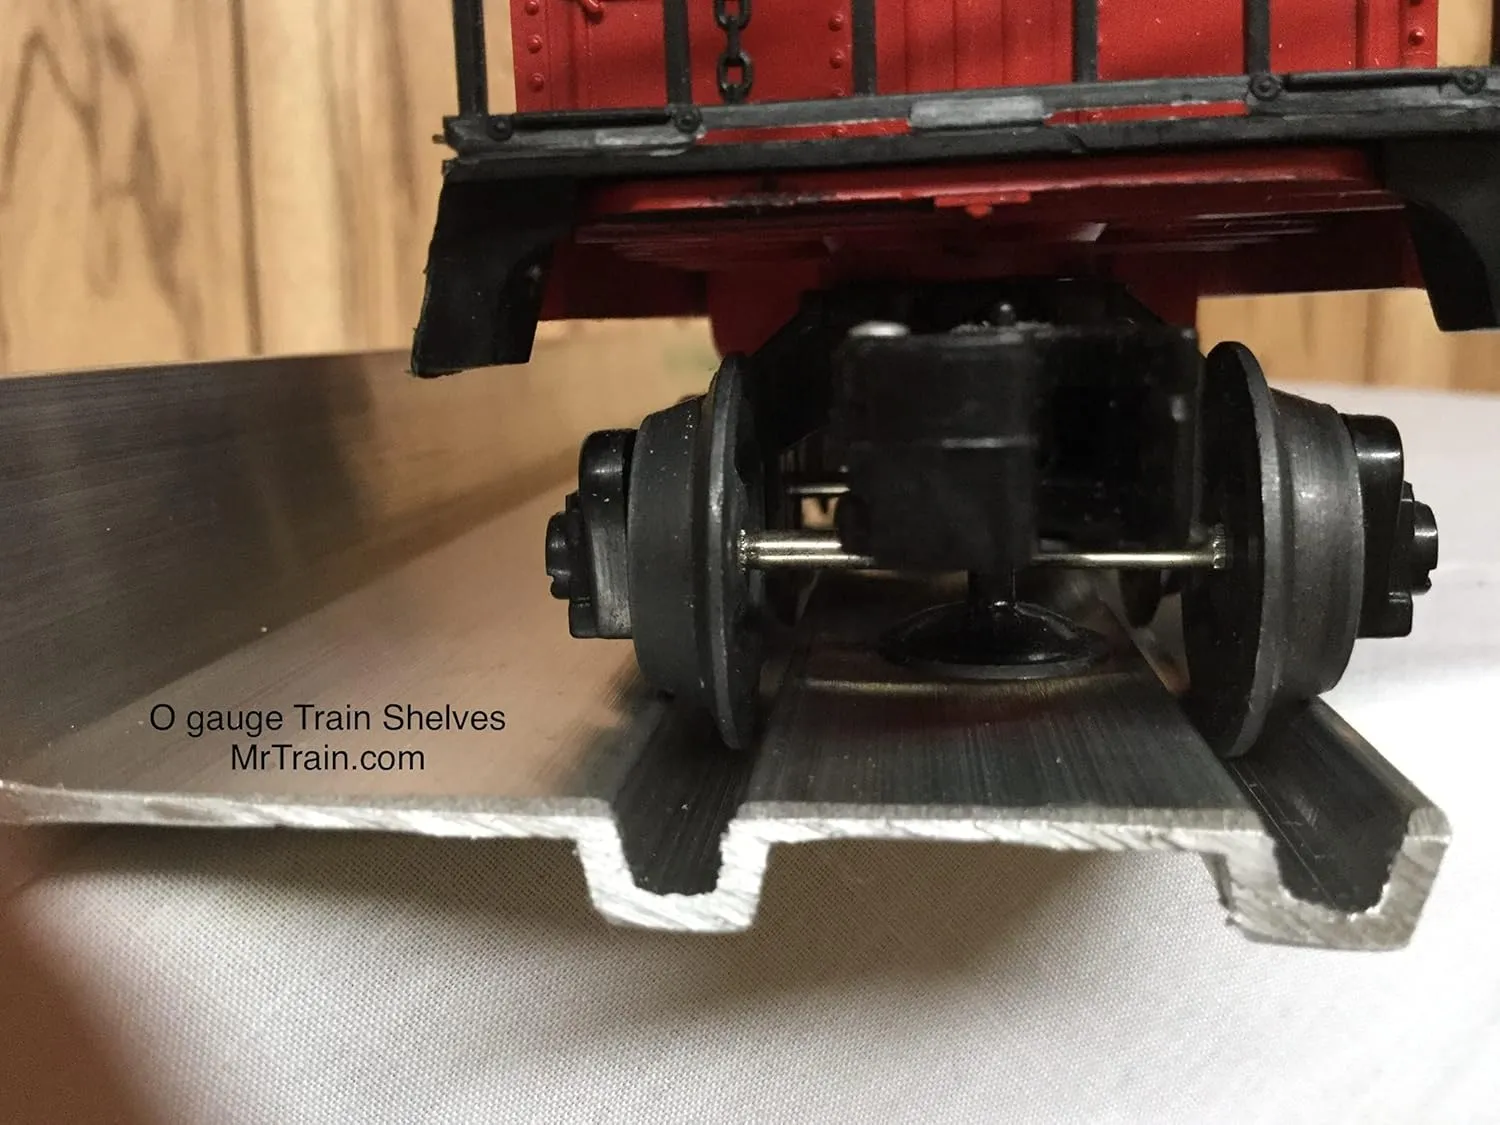
- Each shelf measures 4 foot long by 3 inches deep. One inch mounting lip. TOTAL OF 8 FEET OF SHELVING.
- Sturdy construction to allow for holding heavy locomotives. Trains and accessories NOT included.
- Designed to be butted together without support brackets to make one continuous desired length
This Model Railroad Train Shelf is an aluminum train display shelf that measures 48″ long X 3″ deep. They are a self-contained, floating shelf to display your collectible O gauge toy trains & other collectibles too. Our unique design allows you to butt your O scale train display shelves together to span any length you need. The engineered design is heat treated for strength with an anodized finish that is durable and easy to maintain. Also great for other collectibles, crafts, garage and shed storage, matchbox cars, etc. MOUNTING HARDWARE AND END CAPS or SHELF CONNECTORS SOLD SEPARATELY. Furthermore, our shelves are not pre-drilled. We suggest you mount your shelf at 16” on center to the wall studs. Find the perfect trains to display on your train shelves at Lionel , MTH, Charles Ro, Hennings Trains, Train World , or Berkshire Station. We also offer display shelves for your smaller trains. HO scale shelves or S scale shelves are sold separately. MrTrain.com shelves are easy to install. You will need the following tools: An electric drill 3/16″ drill bits A Level Mounting Hardware Spacing Blocks Spacing blocks should be as high as the distance between the shelves, generally between 5-1/2″ or 6″ for O gauge. Studs are usually located 16″ or 24″ apart on center. Electrical outlets are generally attached to the side of a stud, which is the easiest way to locate one. They may also be found with a magnetic stud finder. Installation Instructions Using the level, draw a line on the wall where you would like the bottom shelf to be located. Locate the studs along this line. Mark the stud spacing and transfer the marks to the back of the shelf. Using the 3/16″drill bit, drill holes in the shelf from the back. Using the mounting hardware, install the shelf on the wall line once you have drilled holes through 1 inch lip to align to your wall studs. Attach to the wall by aligning holes to studs and screw directly in. Once the bottom shelf is fastened, place the spacing blocks on the top of the rails, equal distance apart. Place the next shelf on top of the blocks and mark where each fastener hole is to be drilled. Remove the shelf, drill the holes in the shelf and in the studs and attach the second shelf. Continue installing the shelving by using the spacing blocks until installation is complete.
- 2 Luscious Lipsticks,Value at $44,Includes Lip Cream,Lip Gloss,Lip Gloss Stick,Matte Lipstick,Lip Lacquer (Matte*1 Glowy*1, 2 Count)")
")
")
")


")
, 0.19oz")
